
How to Size a Picnic Shelter in Five Steps
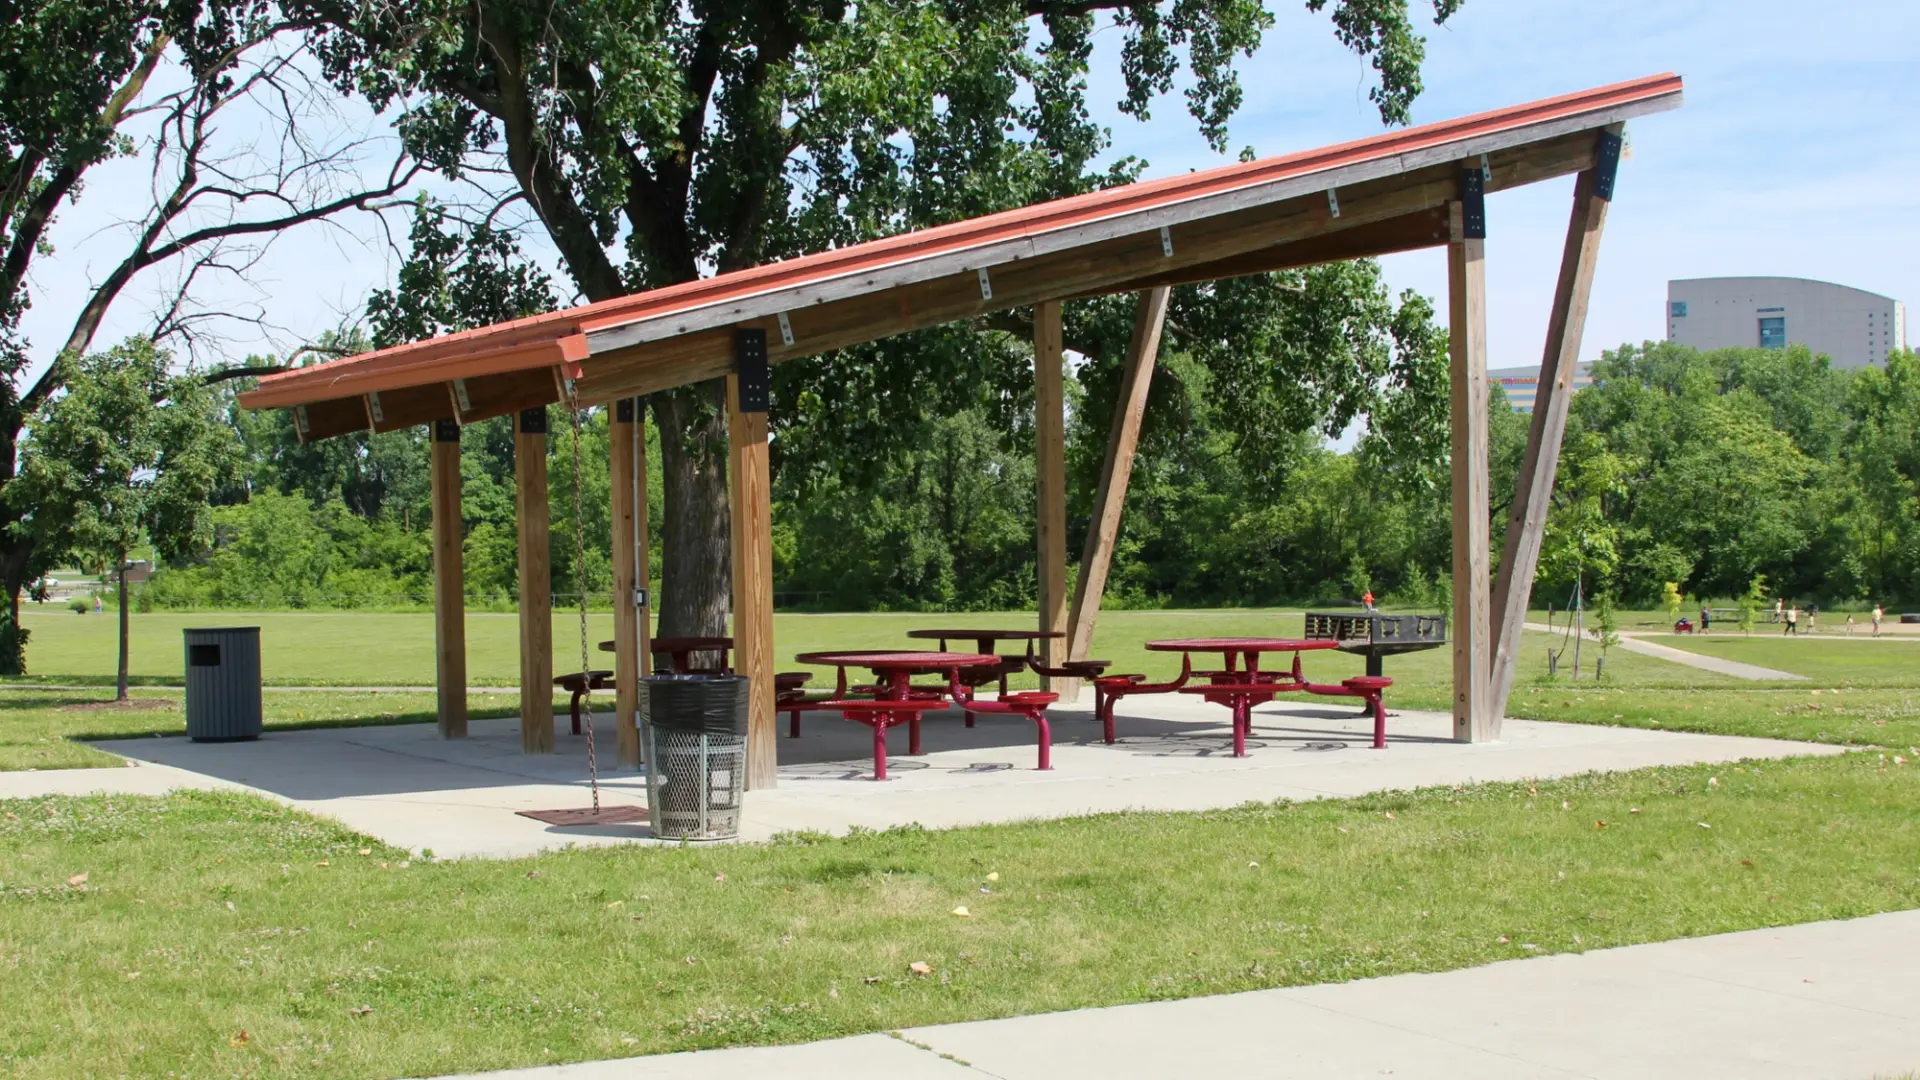
A shelter can look perfect on a concept plan and still feel cramped in real life.
The most common reason is simple:
Early sizing focuses on table count, but forgets circulation, accessibility, and the way people actually move through the space.
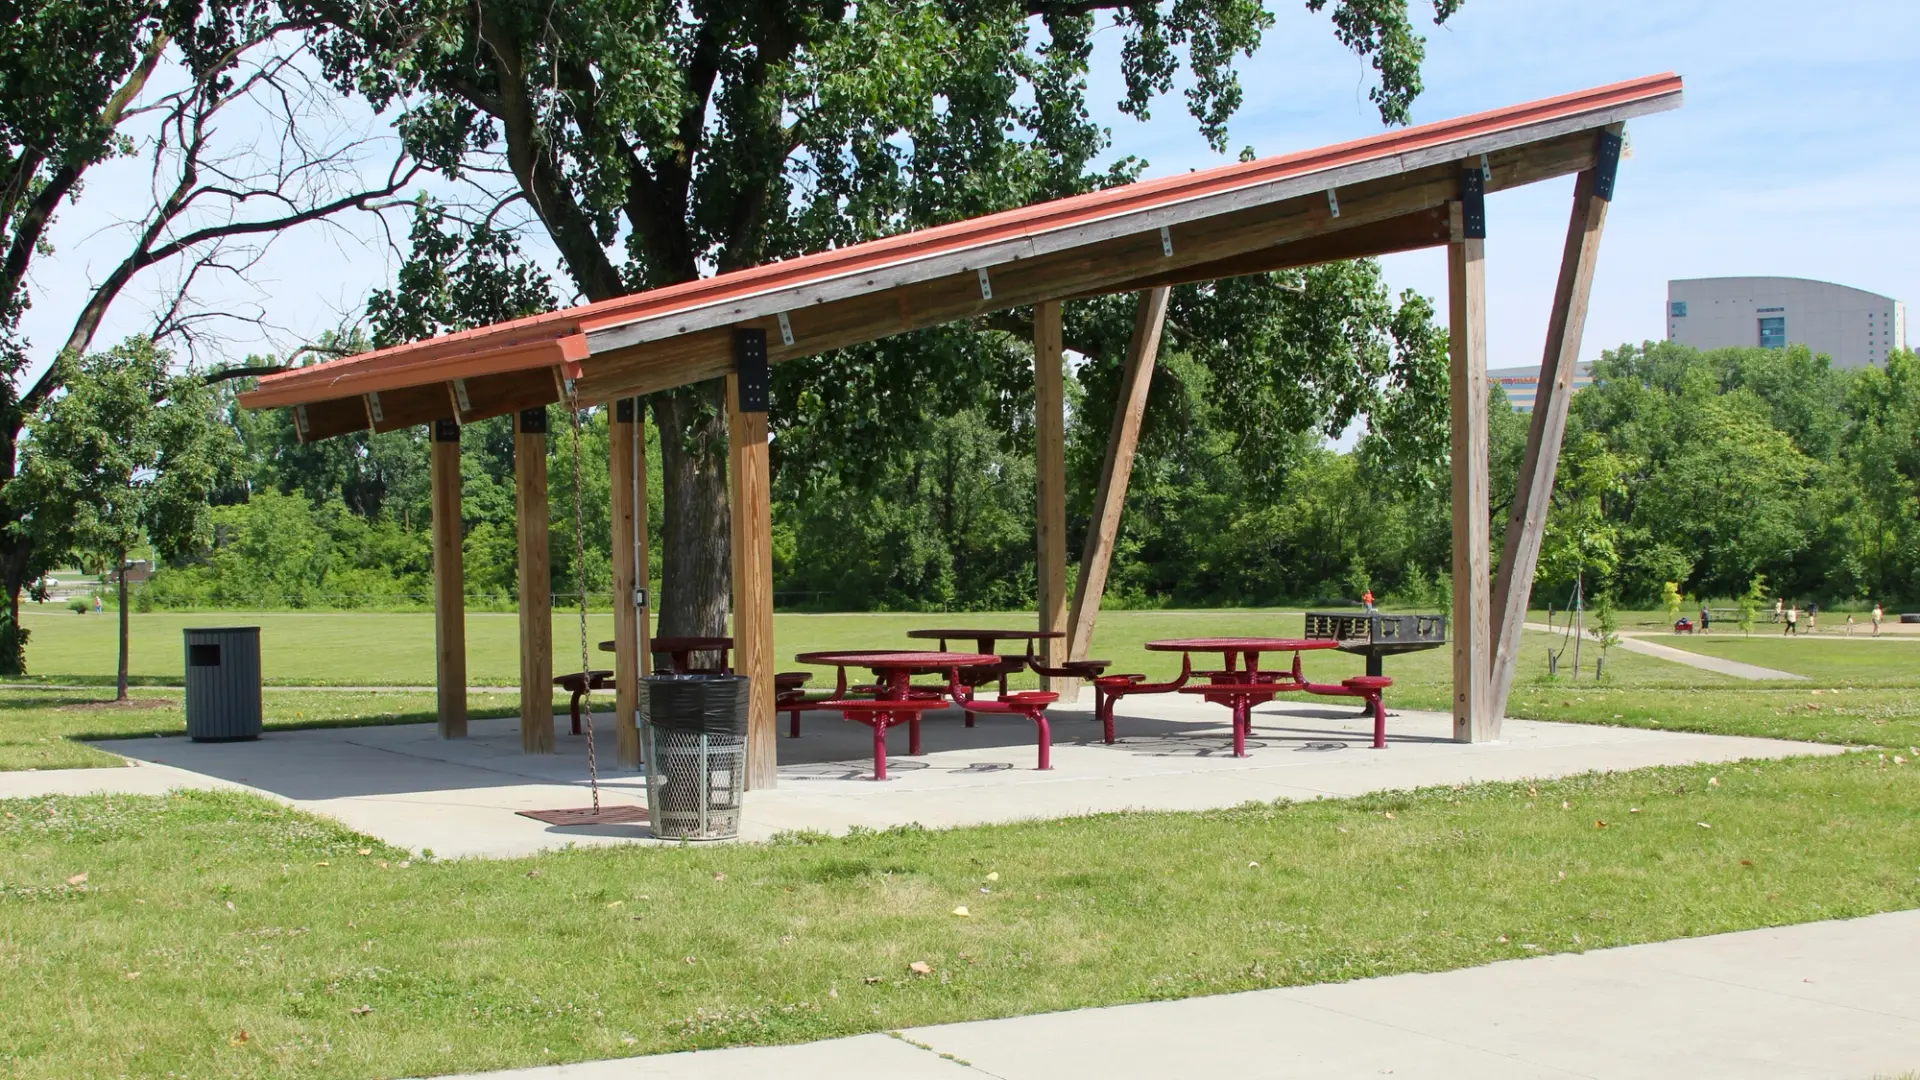
This picnic shelter size guide gives park teams and specifiers a practical way to plan a shelter footprint that works on busy days.
If you want Westplay to sanity-check your layout and recommend a shelter footprint, email info@westplay.ca
Table of Contents
- Step 1: Define the use case.
- Step 2: Plan circulation first
- Step 3: Build the table plan (then confirm the footprint)
- Step 4: Coordinate post locations with real movement
- Step 5: Don’t forget the drip line
- Quick checklist to build a picnic shelter that feels “right”
- How Westplay supports shelter sizing and layout
Step 1: Define the use case.
The first step is to define what happens under the shelter.
Start with the primary scenario:
- Casual picnic seating
- Programmed events and gatherings
- Outdoor classroom
- Multi-use community space
The use case determines how much “open” space you need beyond tables.
Step 2: Plan circulation first
A functional shelter layout includes:
- Clear routes for strollers and mobility devices
- Space for people to pass behind seated users
- Comfortable entry/exit zones so people don’t bottleneck at corners
Specifier note: If circulation is tight on the concept plan, it will feel tighter on site.
Step 3: Build the table plan (then confirm the footprint)
For pavilion size for picnic tables, confirm:
- Table orientation (rows vs clusters)
- Accessible seating positions (not “leftover” spots)
- Space for waste/recycling and any BBQ zones (if included)
A shelter should be sized to the table plan plus circulation, not the other way around.
Step 4: Coordinate post locations with real movement
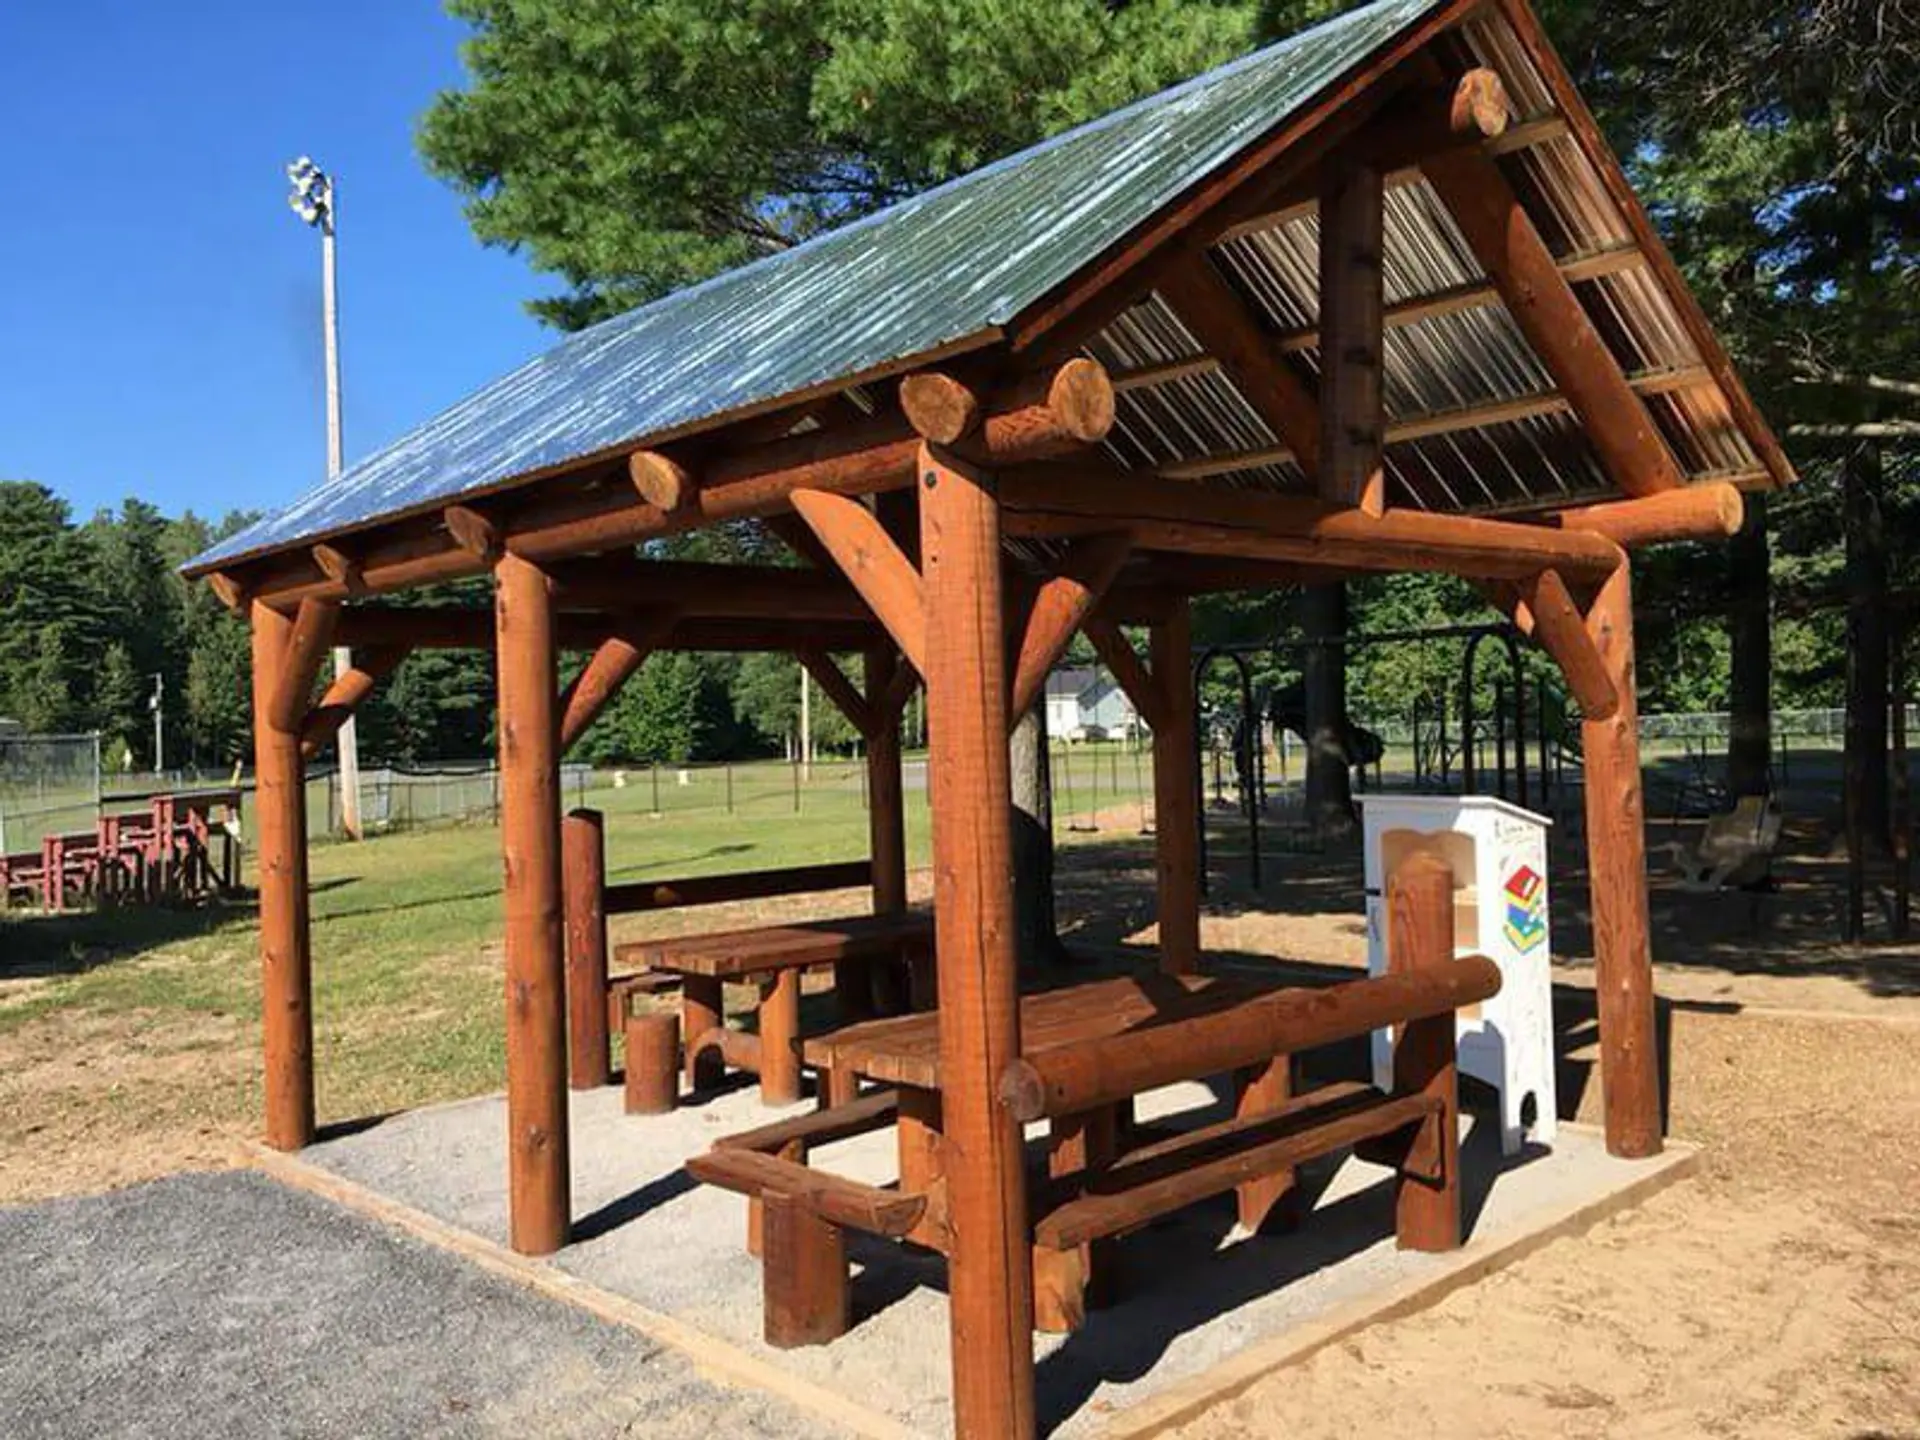
Posts should support the layout, not block it.
Common issues to avoid:
- Posts landing in the natural path between tables and entrances.
- Posts interfering with accessible routes
- Posts forcing tables to be squeezed into awkward positions
Step 5: Don’t forget the drip line
Roof runoff and drip lines can create:
- Muddy edges
- Slippery transitions onto paths
- Crowding at the center of the shelter during rain
- Plan adjacent hardscape and drainage so the shelter stays usable in wet weather.
Quick checklist to build a picnic shelter that feels “right”
- Tables fit with comfortable spacing
- Circulation works for strollers and mobility devices
- Accessible seating is intentional
- Posts do not block movement
- Drip line and drainage are addressed
How Westplay supports shelter sizing and layout
Westplay supports municipalities and landscape architects with:
- Layout guidance to improve circulation and accessibility
- Shelter recommendations aligned to your use case and footprint
- Coordination with adjacent park elements (paths, furnishings, surfacing)
Planning guides
How to plan, budget and specify a project, written for the people who have to.
Playground Project Starter Guide
The fastest way to gain clarity on your playground project and avoid expensive redesigns later. Sent straight to your inbox.